Cinematic Wedding Photography Tutorial
We thought we’d share a cinematic wedding photography tutorial with tools and techniques that have helped us achieve a more cinematic look. Movies have always been a major inspiration for us and since the beginning we’ve strived to achieve a cinematic look in our wedding photography.
A cinematic look isn’t really possible to define but it is a combination of a whole bunch of ingredients coming together in the 1 image. Yes the preset, post production, colors, composition and camera gear is important but the most important part is of course the light in the image.
To coincide with the launch of our presets we’d like to share a cinematic wedding photography tutorial to help give your photos more of a cinematic edge!
Check out our previous article on editing here.
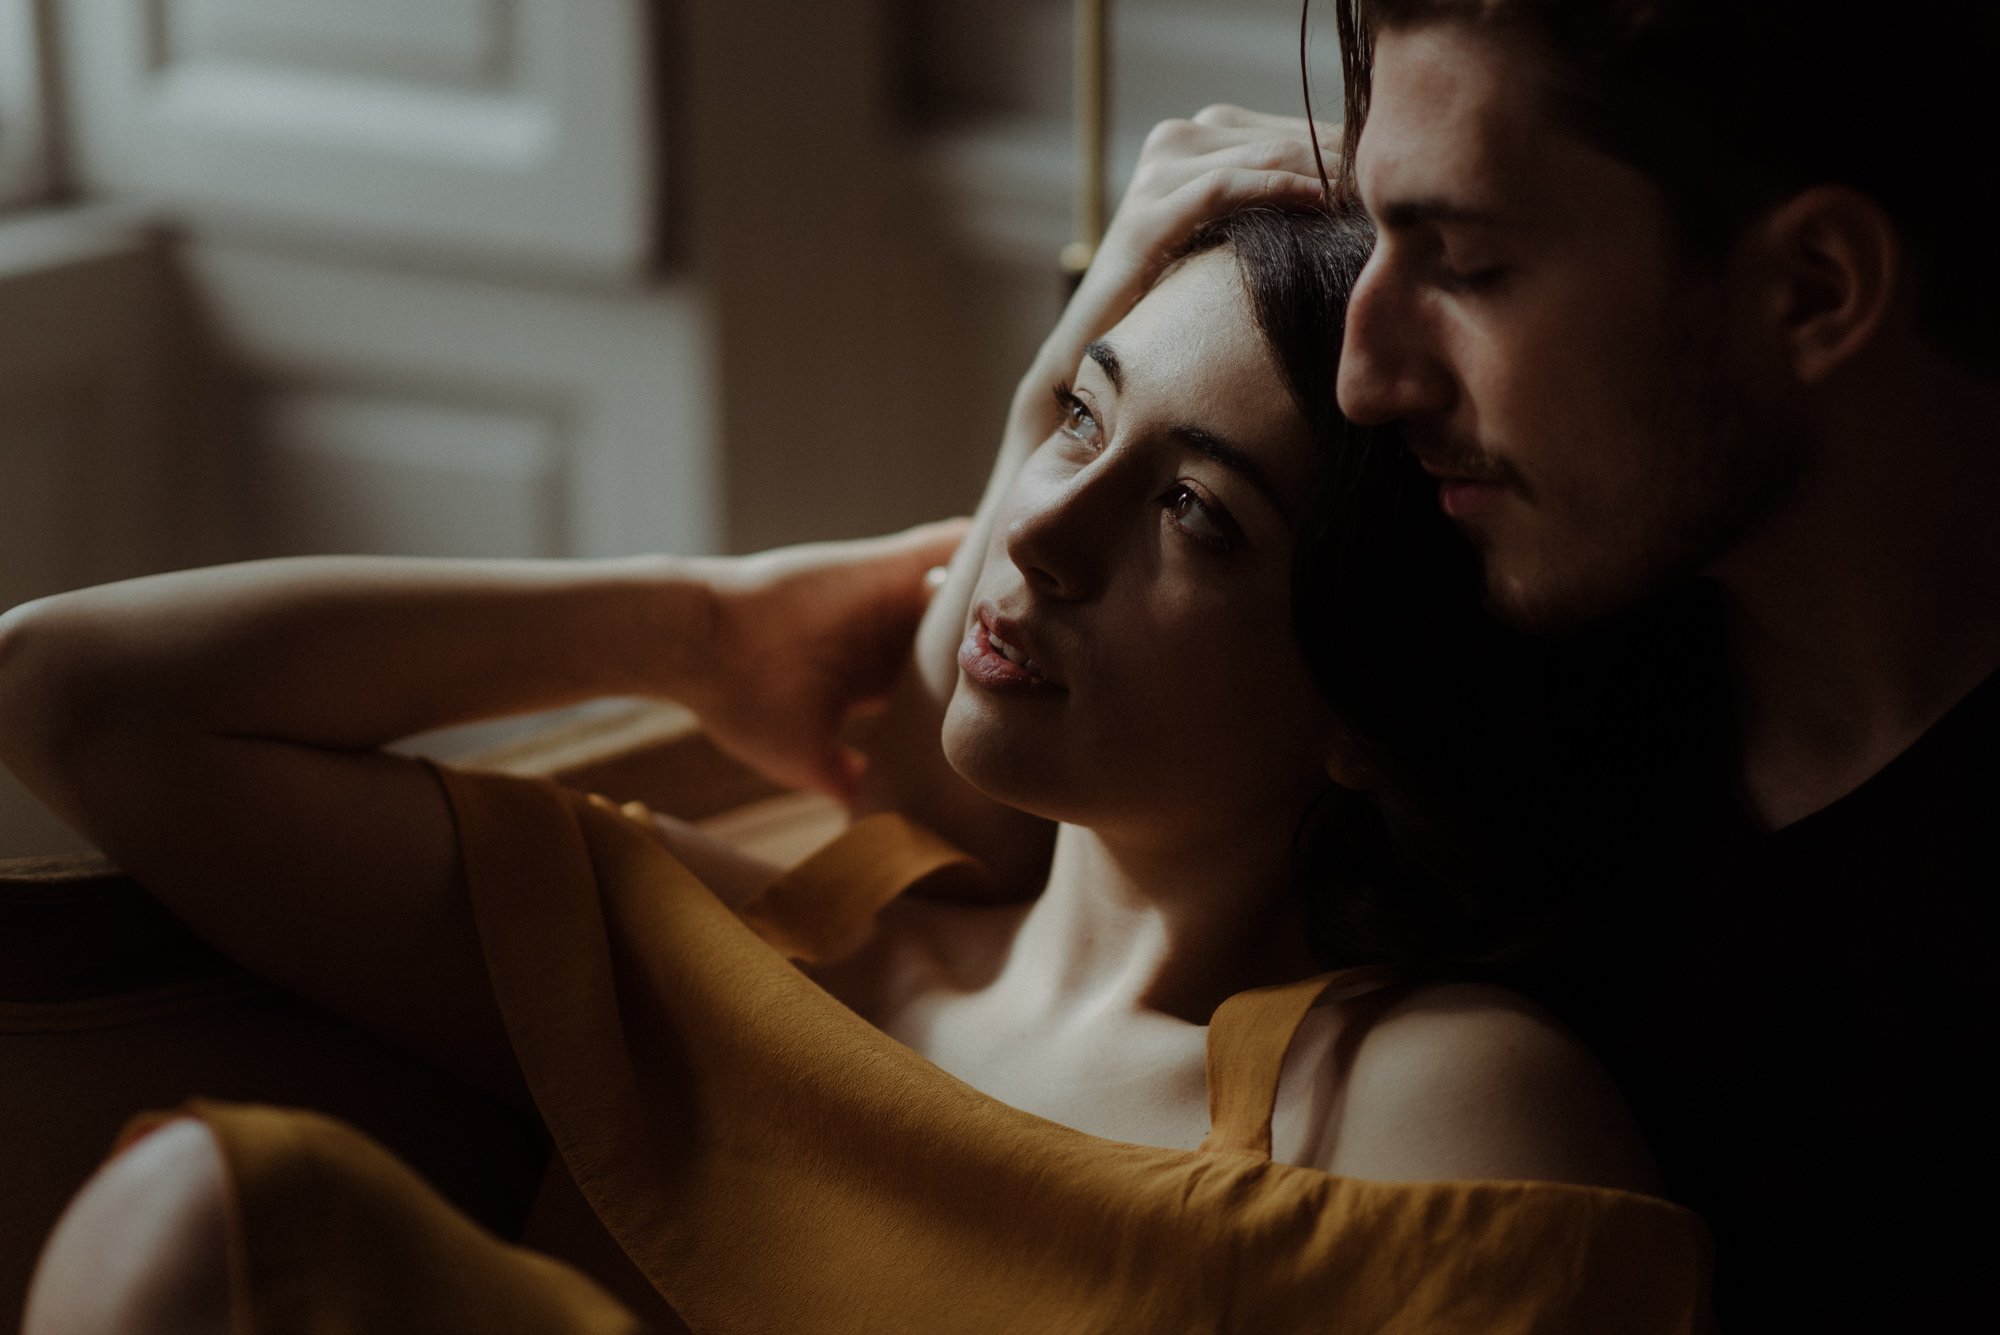
A Shallow Depth Of Field
Cinematic looking shots can be created with any lens and different focal lengths are appropriate for different situations but when we look back at our most cinematic looking shots they’re usually taken with the 85mm lens.
Using this lens with it’s longer focal length and combining it with a wide-open aperture you can really isolate the subject and create a soft out of focus background.
Its ideal for a close up portrait or an emotional situation on the wedding day when you don’t want to get too close and you need the subject to be separated from distractions in the background.
When we’re using this lens (or any lens for that matter) we’re often shooting close to wide-open (f/1.8) unless there’s a specific reason we’d need to shoot at a higher aperture (if the background detail is important for instance).
The photo below was shot wide open (f/1.8) with an 85mm lens to separate the subjects from the background and give the photo a 3D effect.
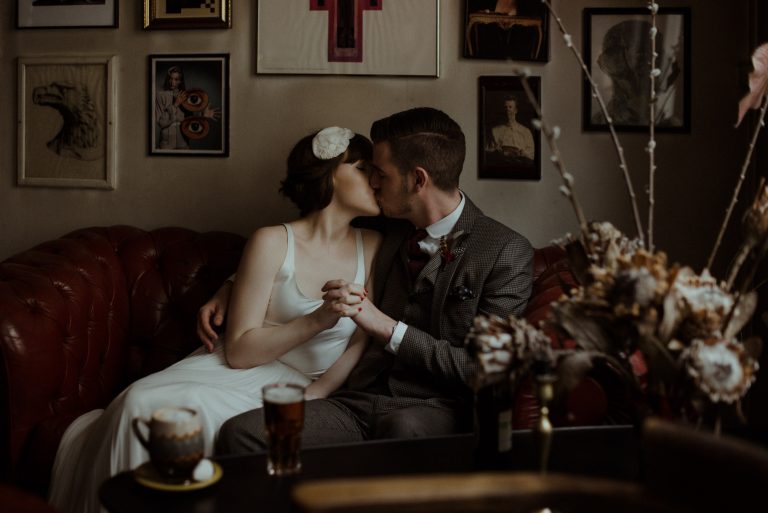
Creating a 3-Dimensional Composition
A well composed photo grabs the viewer’s attention and directs the eye in a calculated way around the image. One thing we love to do with our images when we can is create a 3-Dimensional look.
Leading lines are a compositional element that can be used to create depth in an image. Creating depth (or 3-dimensionality) in your image gives it a sense of movement (your eye moving from one part to the other) and also is useful for narrative effect (see photo below).
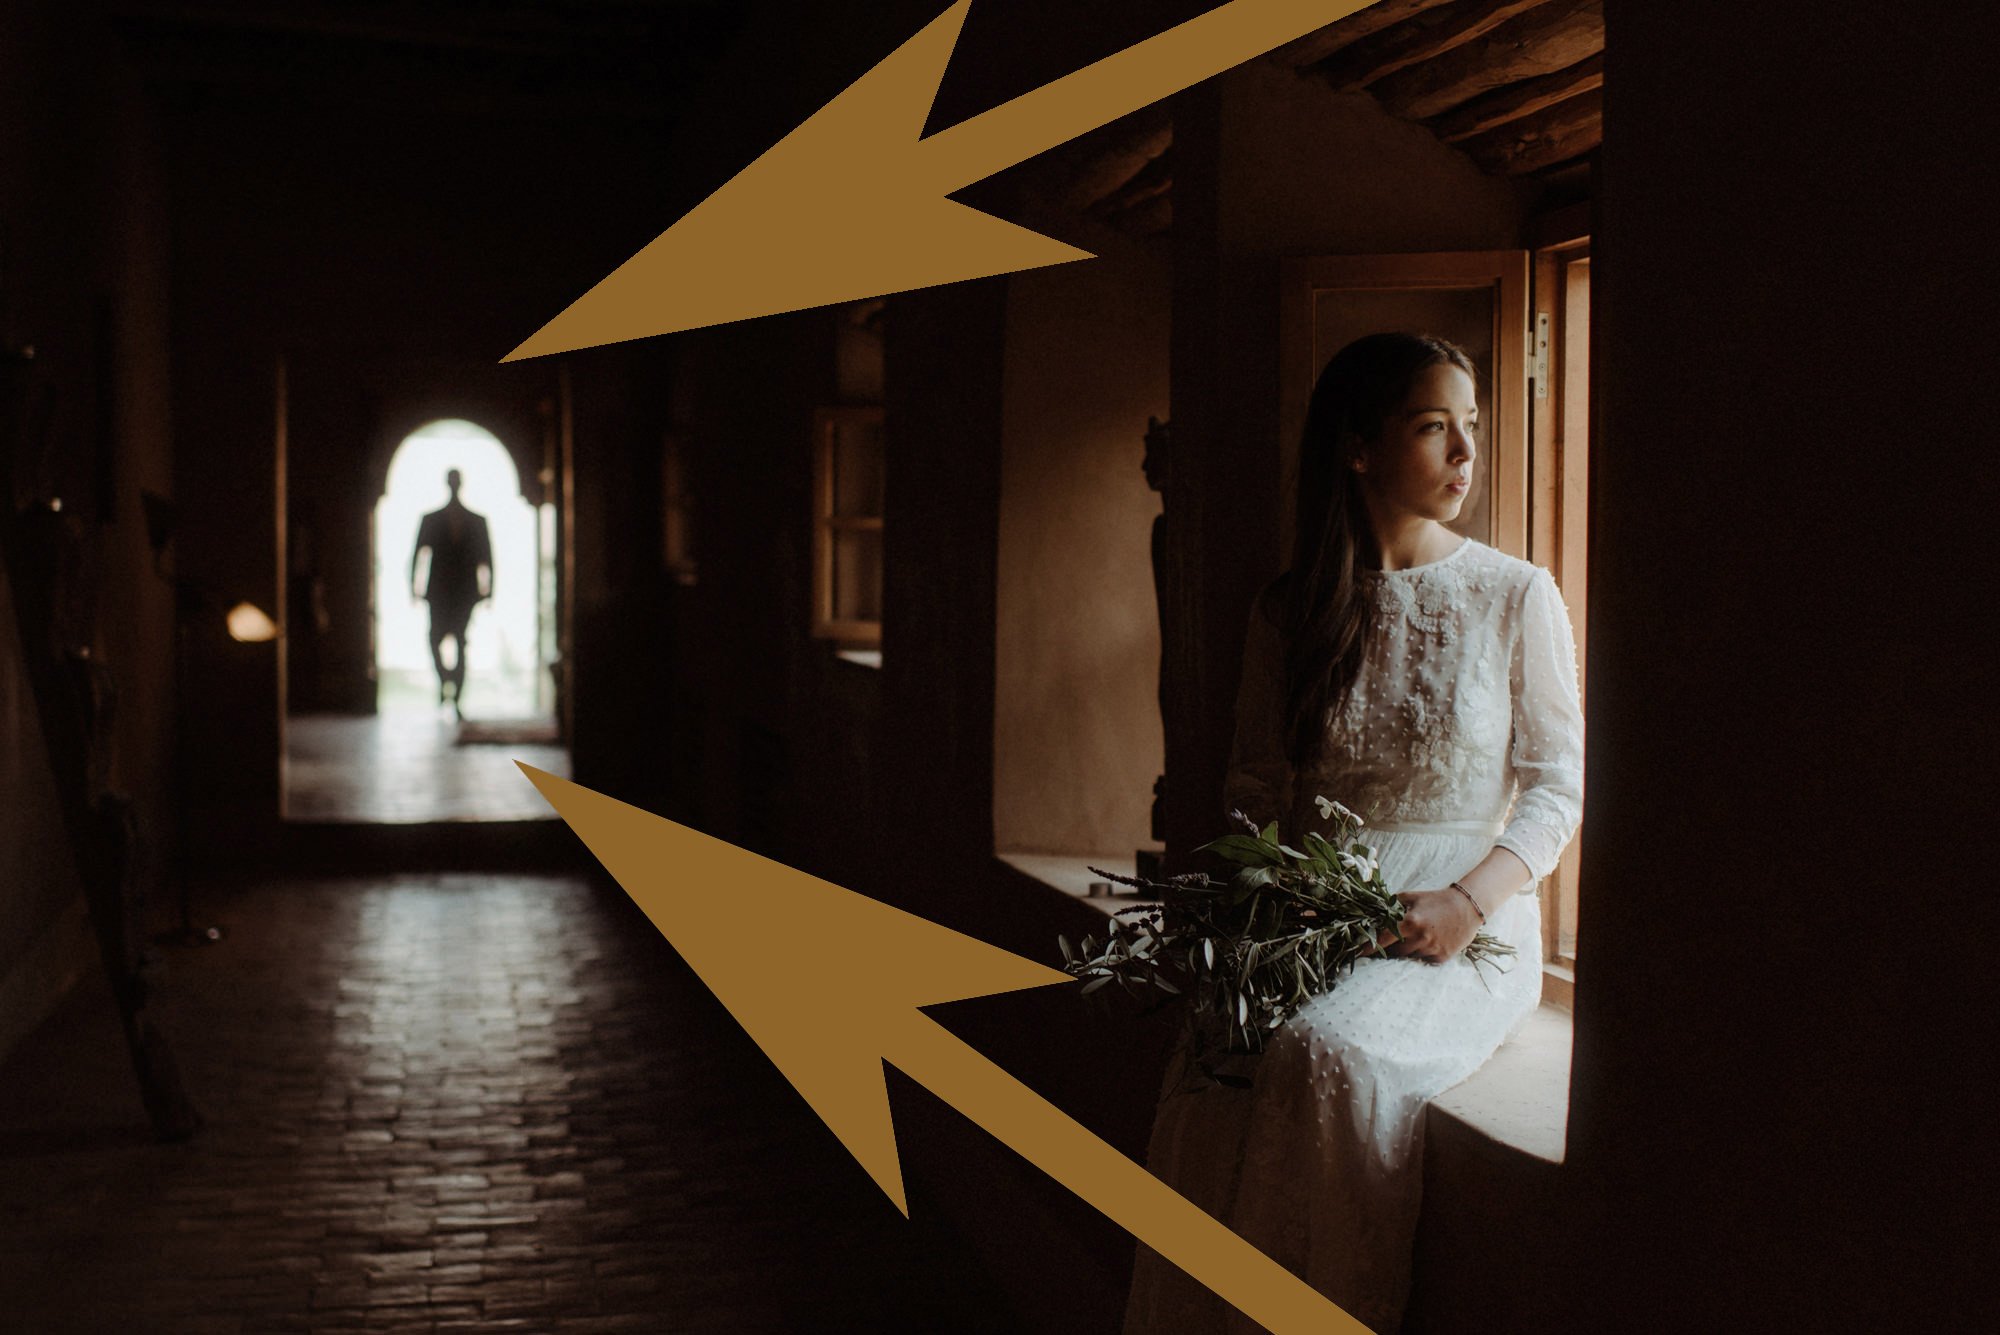
Always keep an eye out for any lines in the environment that can guide the viewers eye from one subject to the other.
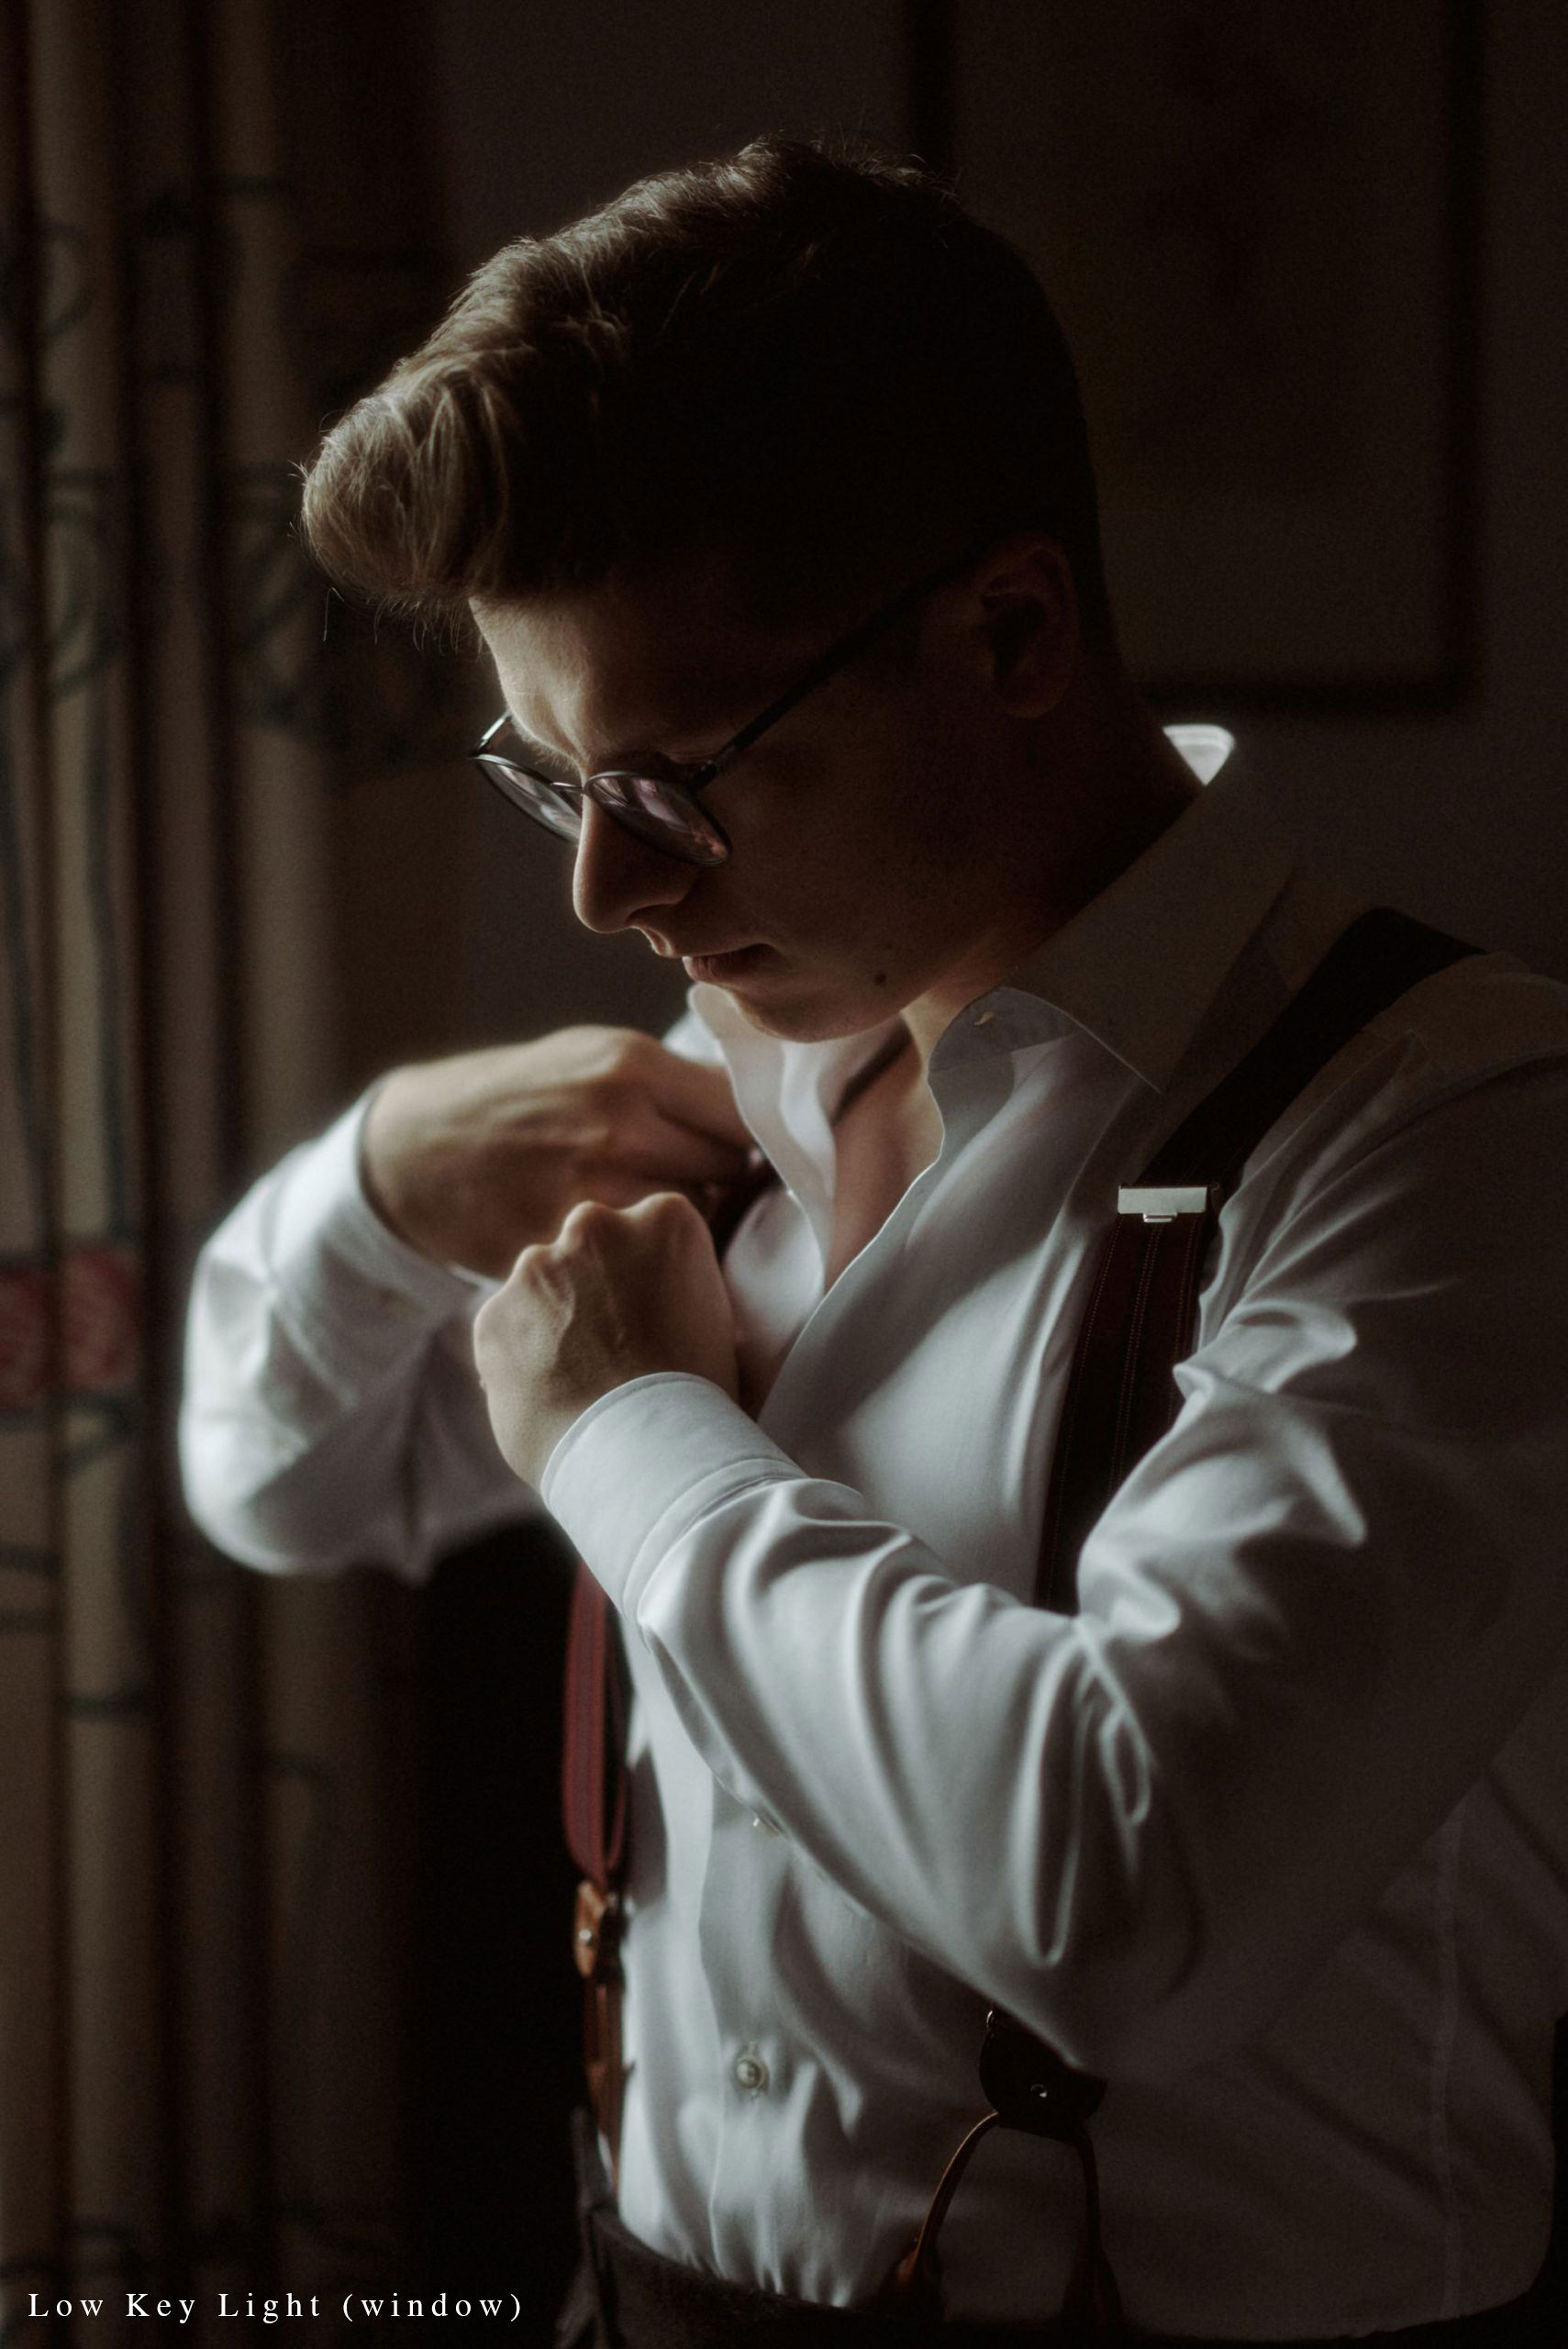
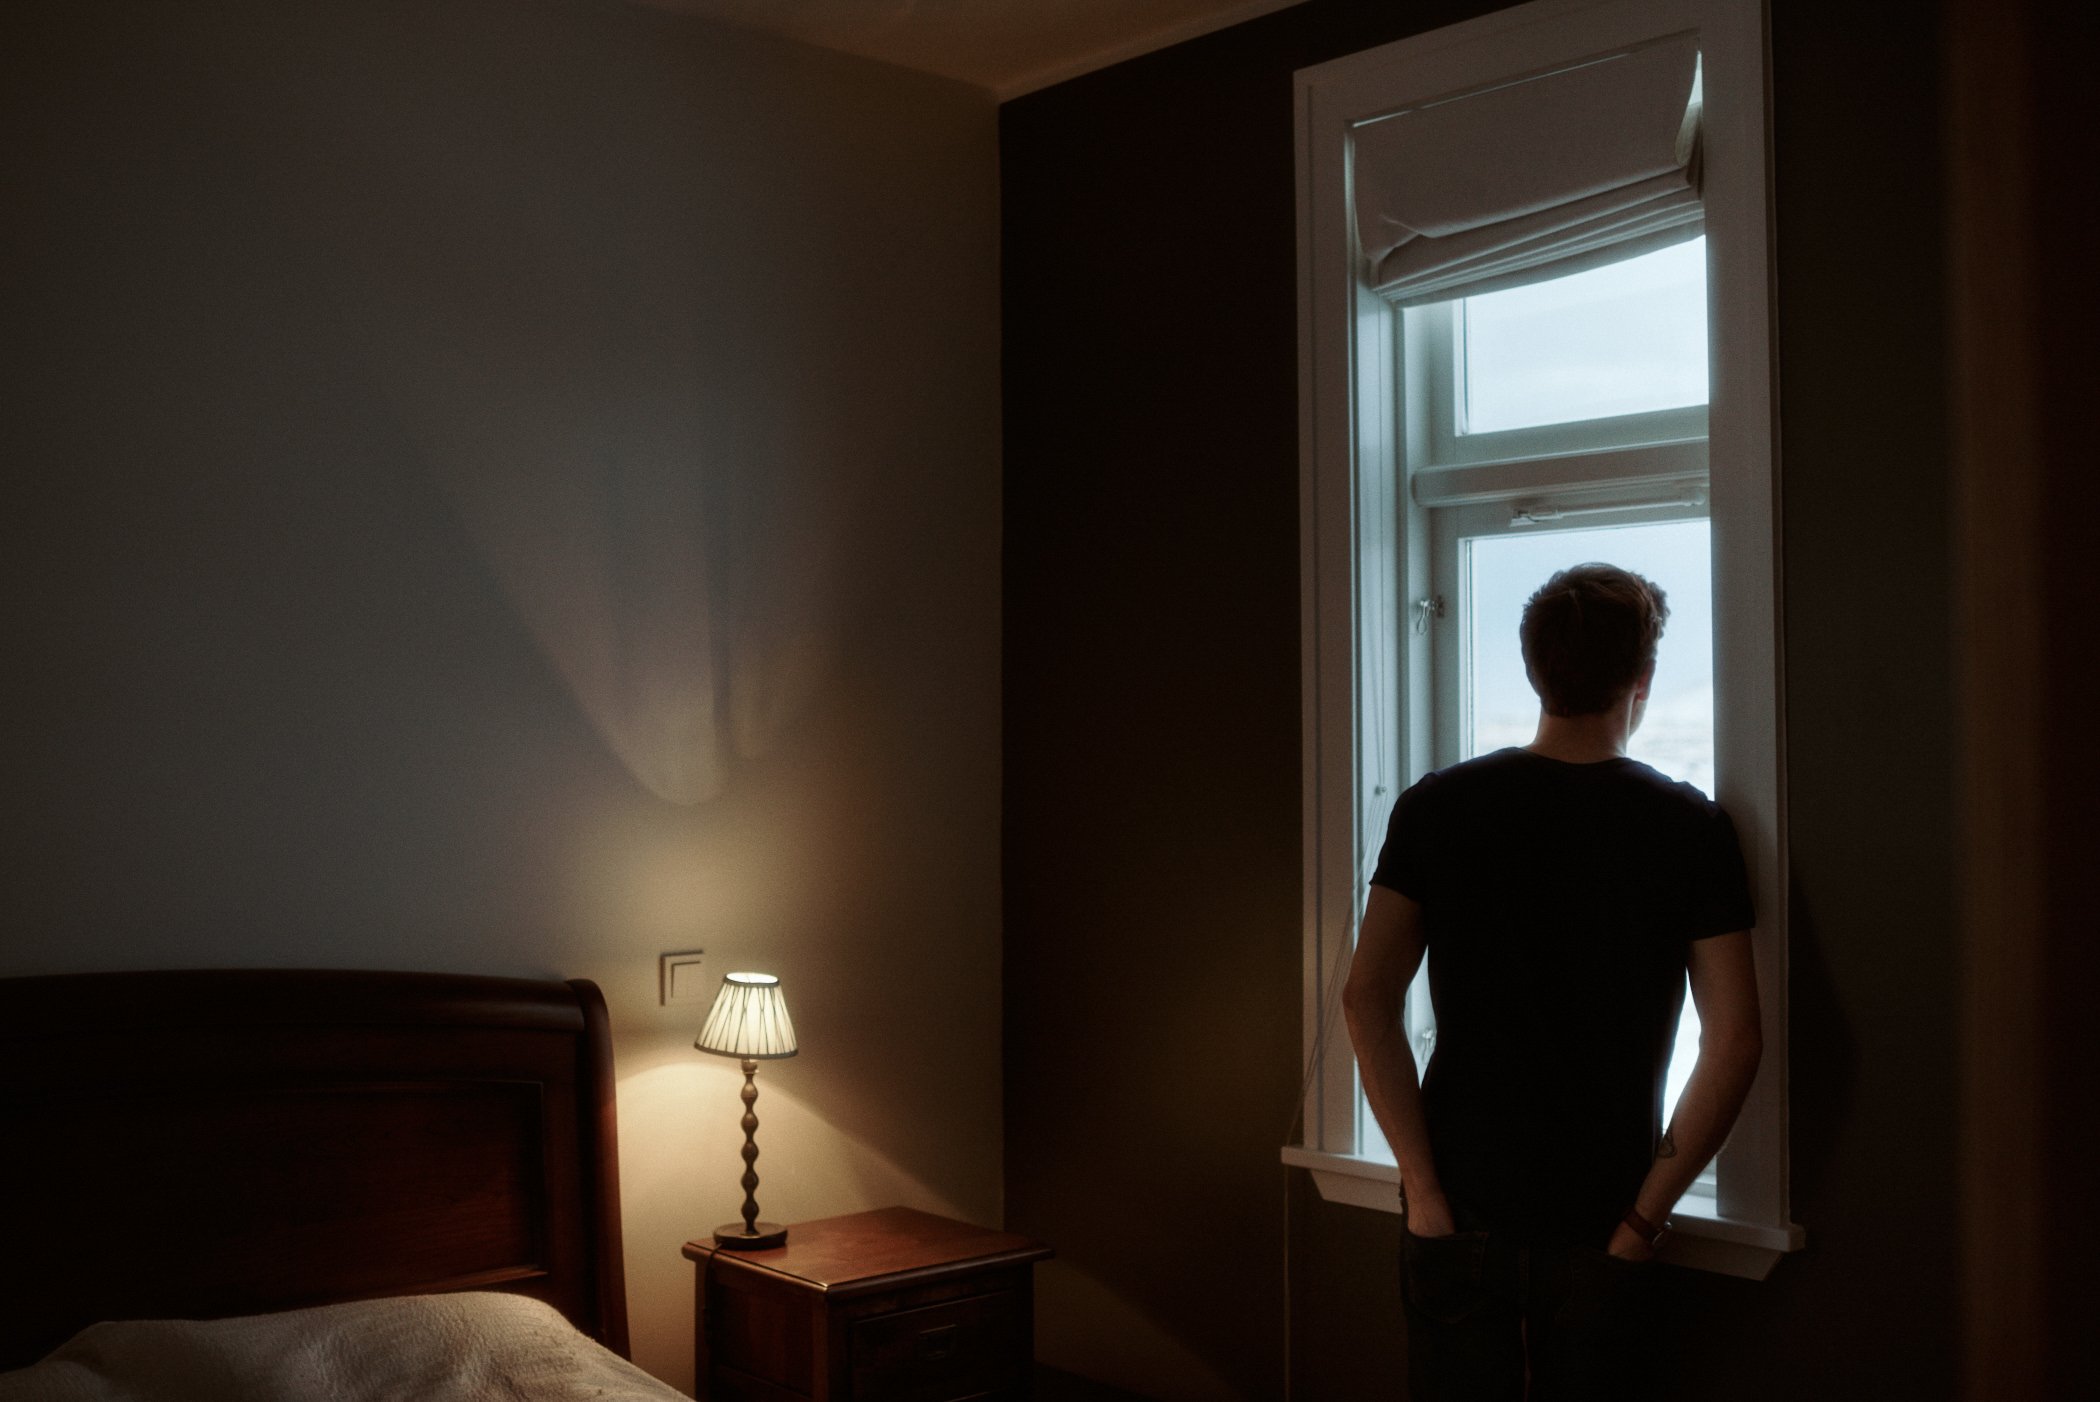
Low Key Light
One of the most important topics in any cinematic wedding photography tutorial is low key light. Light is everything when creating cinematic images and knowing good light when you see it and knowing how to use it is something that has to be learned over time. Every wedding we photograph today we’re still learning new things about light.
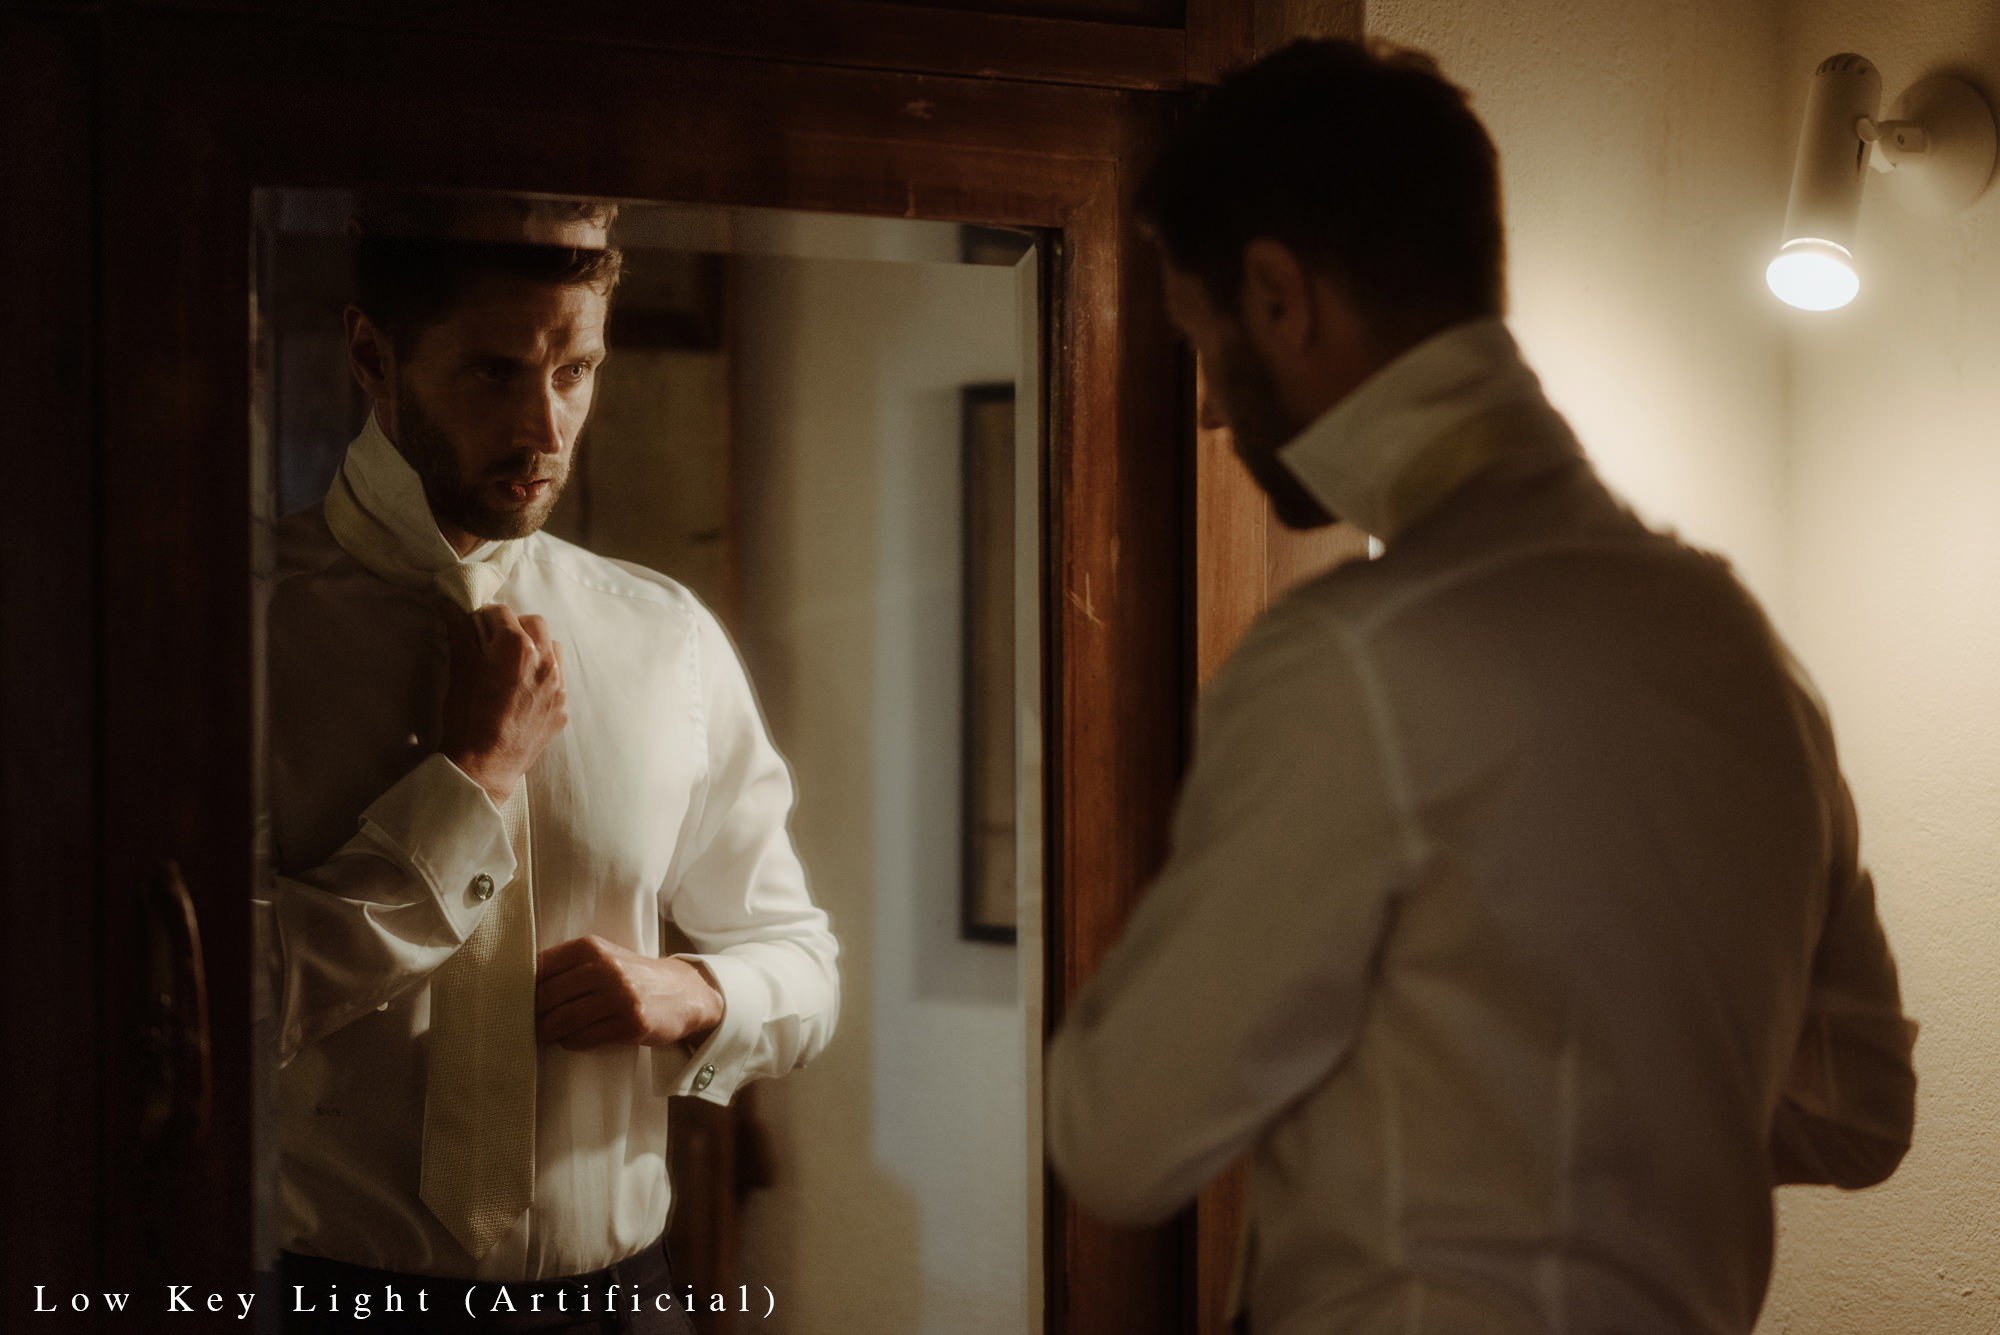
There are all kinds of different lighting scenarios but our favourite kind of light on the wedding day is ‘Low Key Light’ (1 light source with very little to no fill light).
You can find it in the form of any natural or artificial light source such as through windows, candles, indoor lamps or even moonlight. Make sure there is no other light source in the room and then simply place the subject’s body/face in the light and expose for the part of the face that is being touched by the light.
The high contrast ratio gives the subject a 3 dimensional look that will give your photo drama and mood. Look at many of the modern thrillers, dramas and sci-fi movies and you’ll notice they all use low key light a lot.
Read more about low key lighting and it’s origins here.
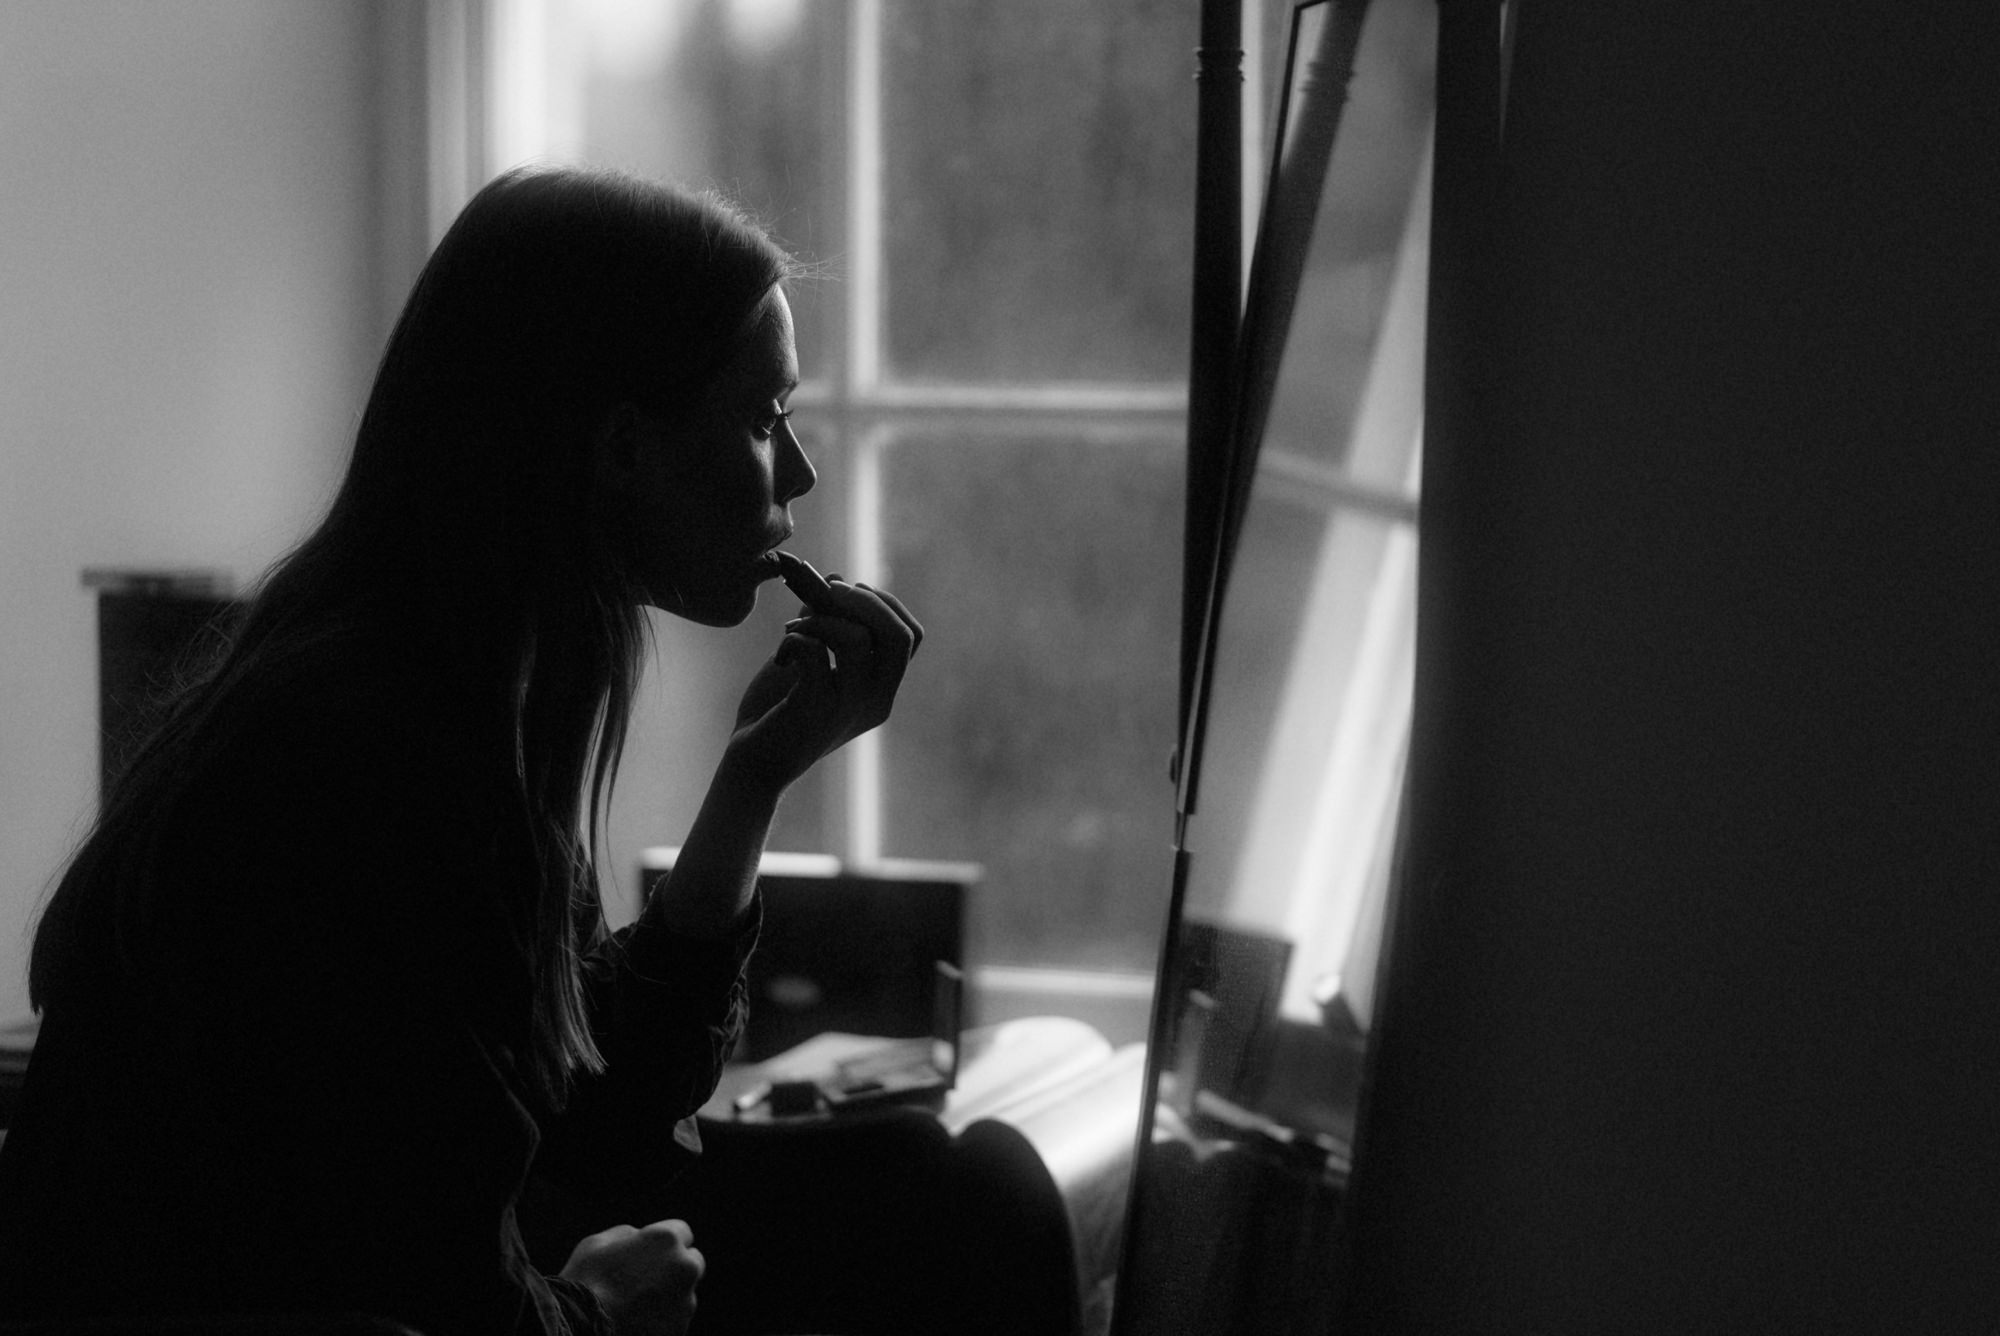
Using one light source (a window for example) is also great for creating silhouettes too. Again, silhouettes are great because they create drama and leave more to the viewer’s imagination as sometimes less detail is more!
When taking a silhouette in front of a window, expose for the light outside to make sure the details in the highlights are maintained and the subject is thrown into darkness (creating the silhouette of the subject).
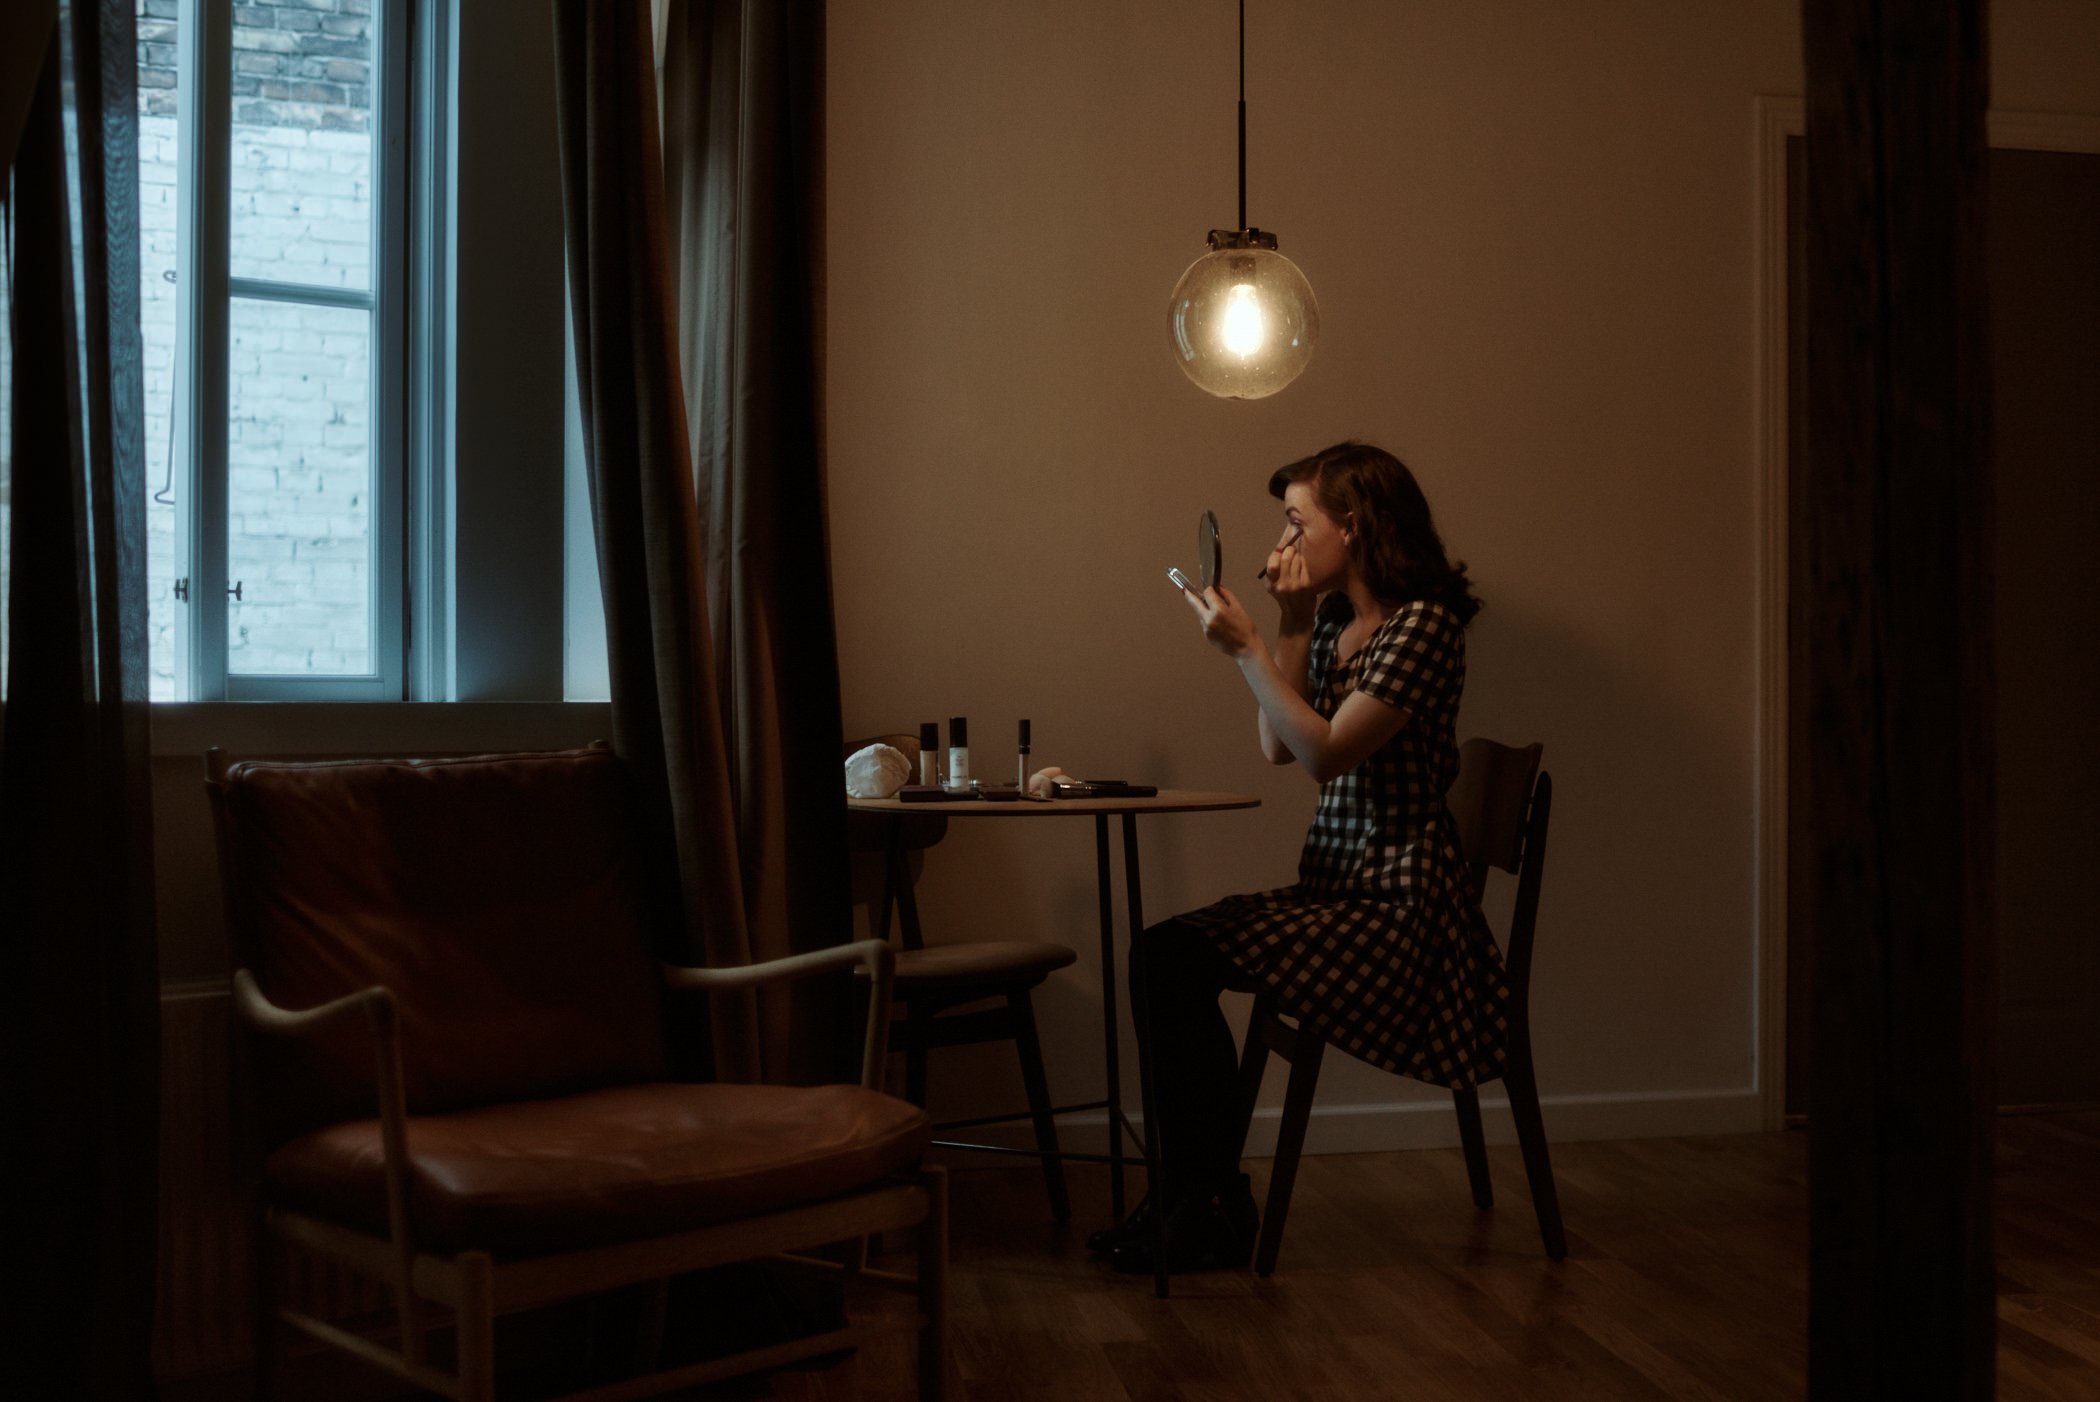
Mixing Color Temperatures
In some situations on the wedding day you’ll have the opportunity to mix tungsten light (warm light from an artificial source) and cool light. It’s a look that’s been used in movies for decades and whenever we’re photographing a wedding we’re always looking for a way to incorporate it into our photos. Keep an eye out for small tungsten light sources such as a lamp, candles or even a small overhead room light and mix it with some outside light coming from a window (overcast days or ‘blue hour’ light from outside work best).
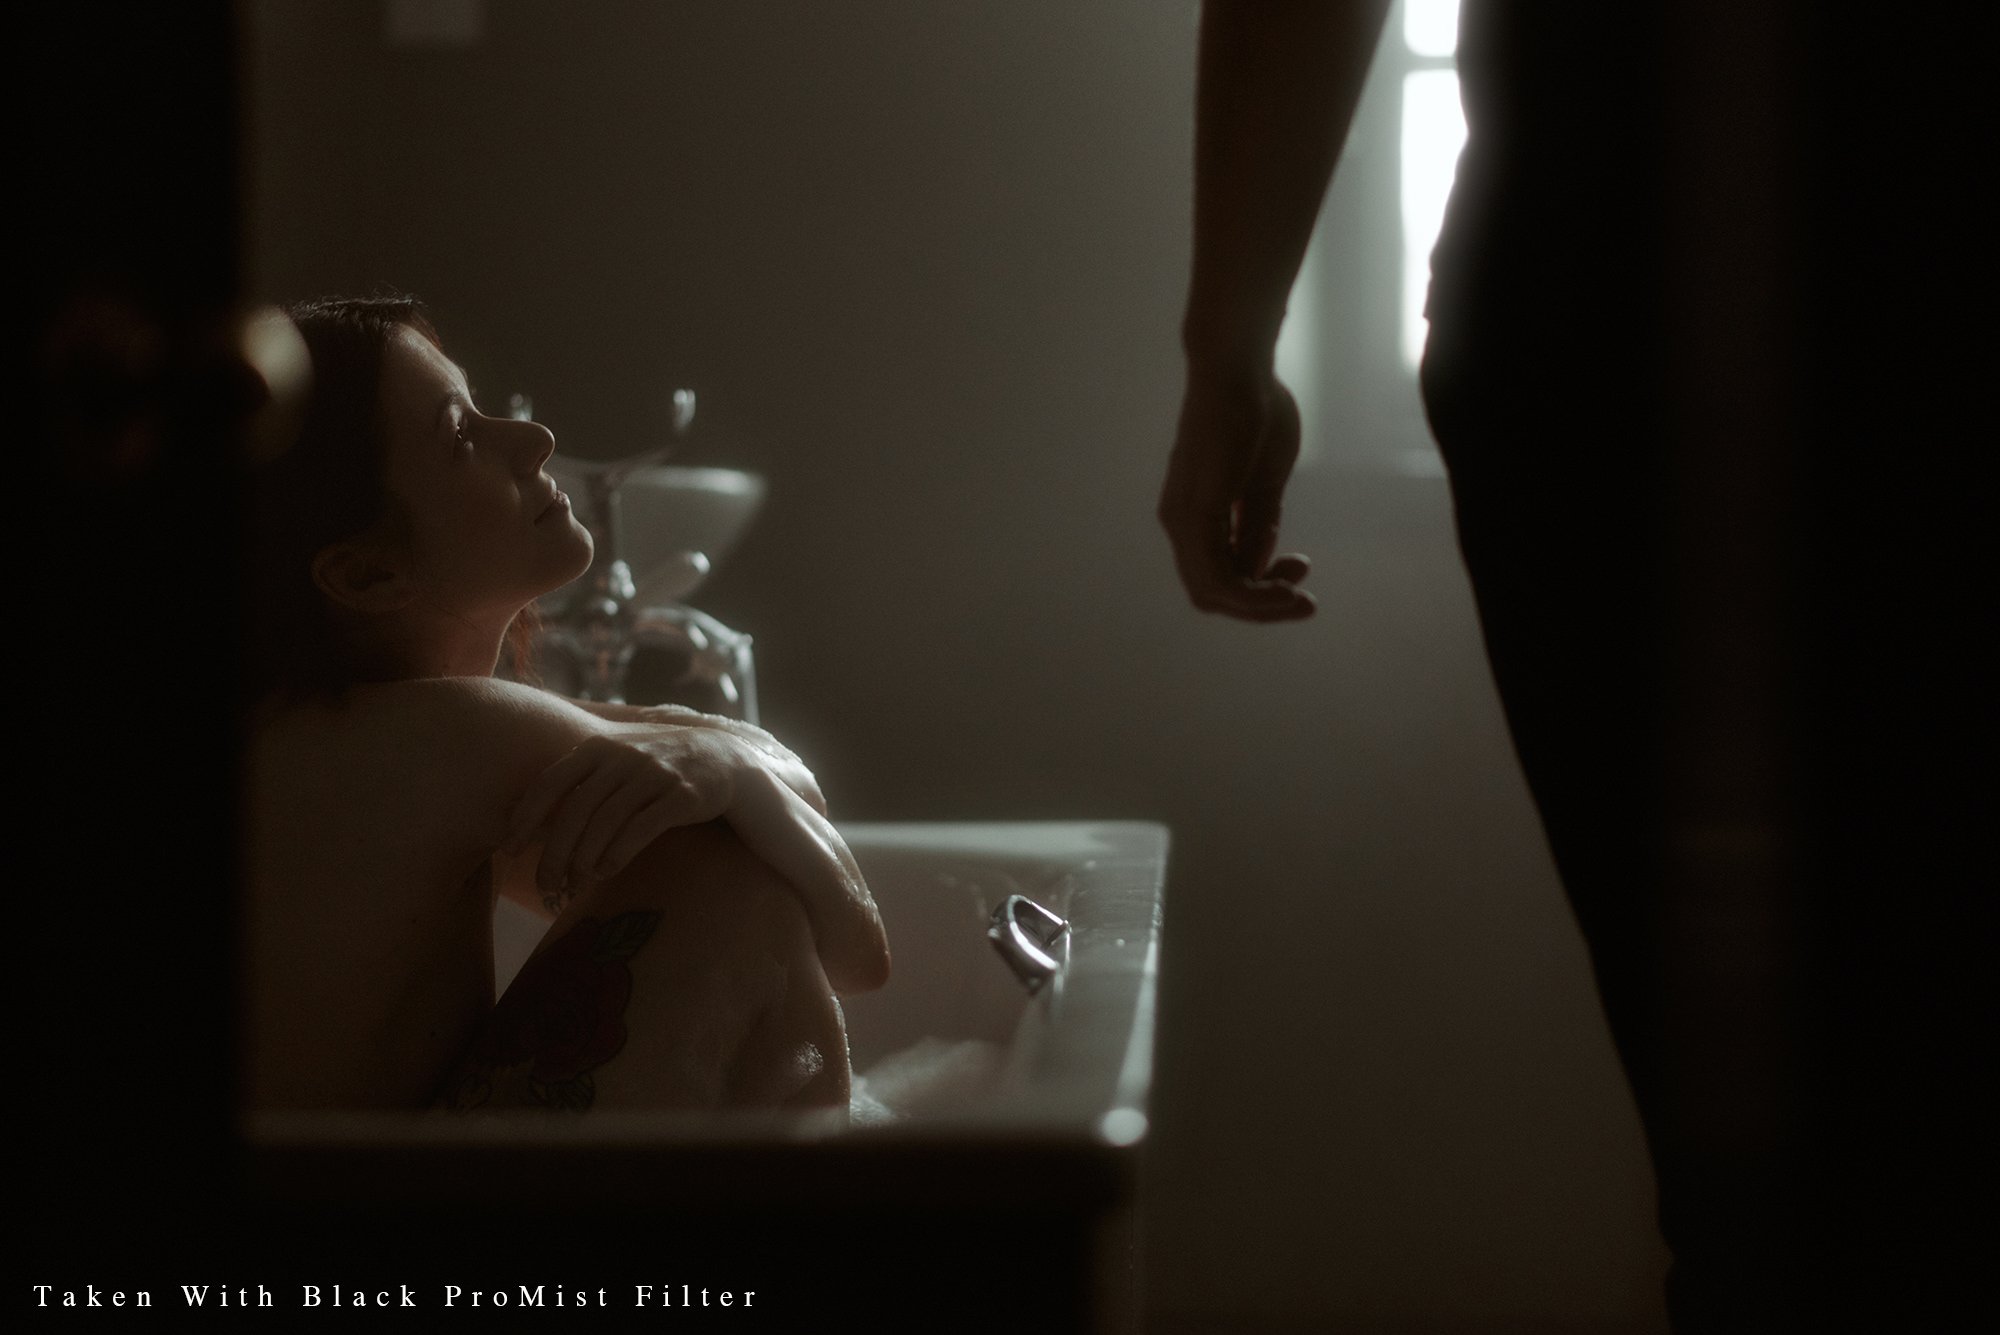
Adding a Cinematic ‘Glow’ To Your Images
Something we get asked about a lot, which is another reason we decided to write this cinematic wedding photography tutorial! To add that soft and ethereal ‘glowy look’ to your images you can use 2 different methods.
One method can be achieved through additional software in post production and the other method is with a lens filter such as the Tiffen Black ProMist which will give a more natural result than using software.
Filters like the Tiffen Black ProMist are often used in movies to soften the highlights and create a smoother roll-off while at the same time adding a glow to the highlights in the image. The result is an image that looks less digital and more film-like.
One thing to remember when using the Black ProMist is that ‘the look’ is burned in to the photo so it cannot be removed in post so definitely consider the strength of the lens filter first.
Check out a Tiffen Black Promist demonstration here to see exactly what it does.
Also check out our Amazon Storefront here to see a list of the photography gear that we use (including the Tiffen Black ProMist filter).
Pay Attention To Color
Colors are one of the most important ingredients in achieving a cinematic look. Colors can create a certain mood in the photo and be used to draw the viewer’s eye to a particular part of the photo.
We don’t have full control over color on the wedding day but one thing we’re always looking out for when we’re shooting are colors that draw unwanted attention and/or don’t fit in with the other colors in the image/scene.
For example, if we’re shooting morning preparations and there’s a bright pink vase in the background that’s screaming out ‘look at me!’ then we’ll carefully move it to the side or frame the photo in a way that it’s not visible.
Being conscious of the colors in your images creates visual consistency and balance.
Editing And Post Production
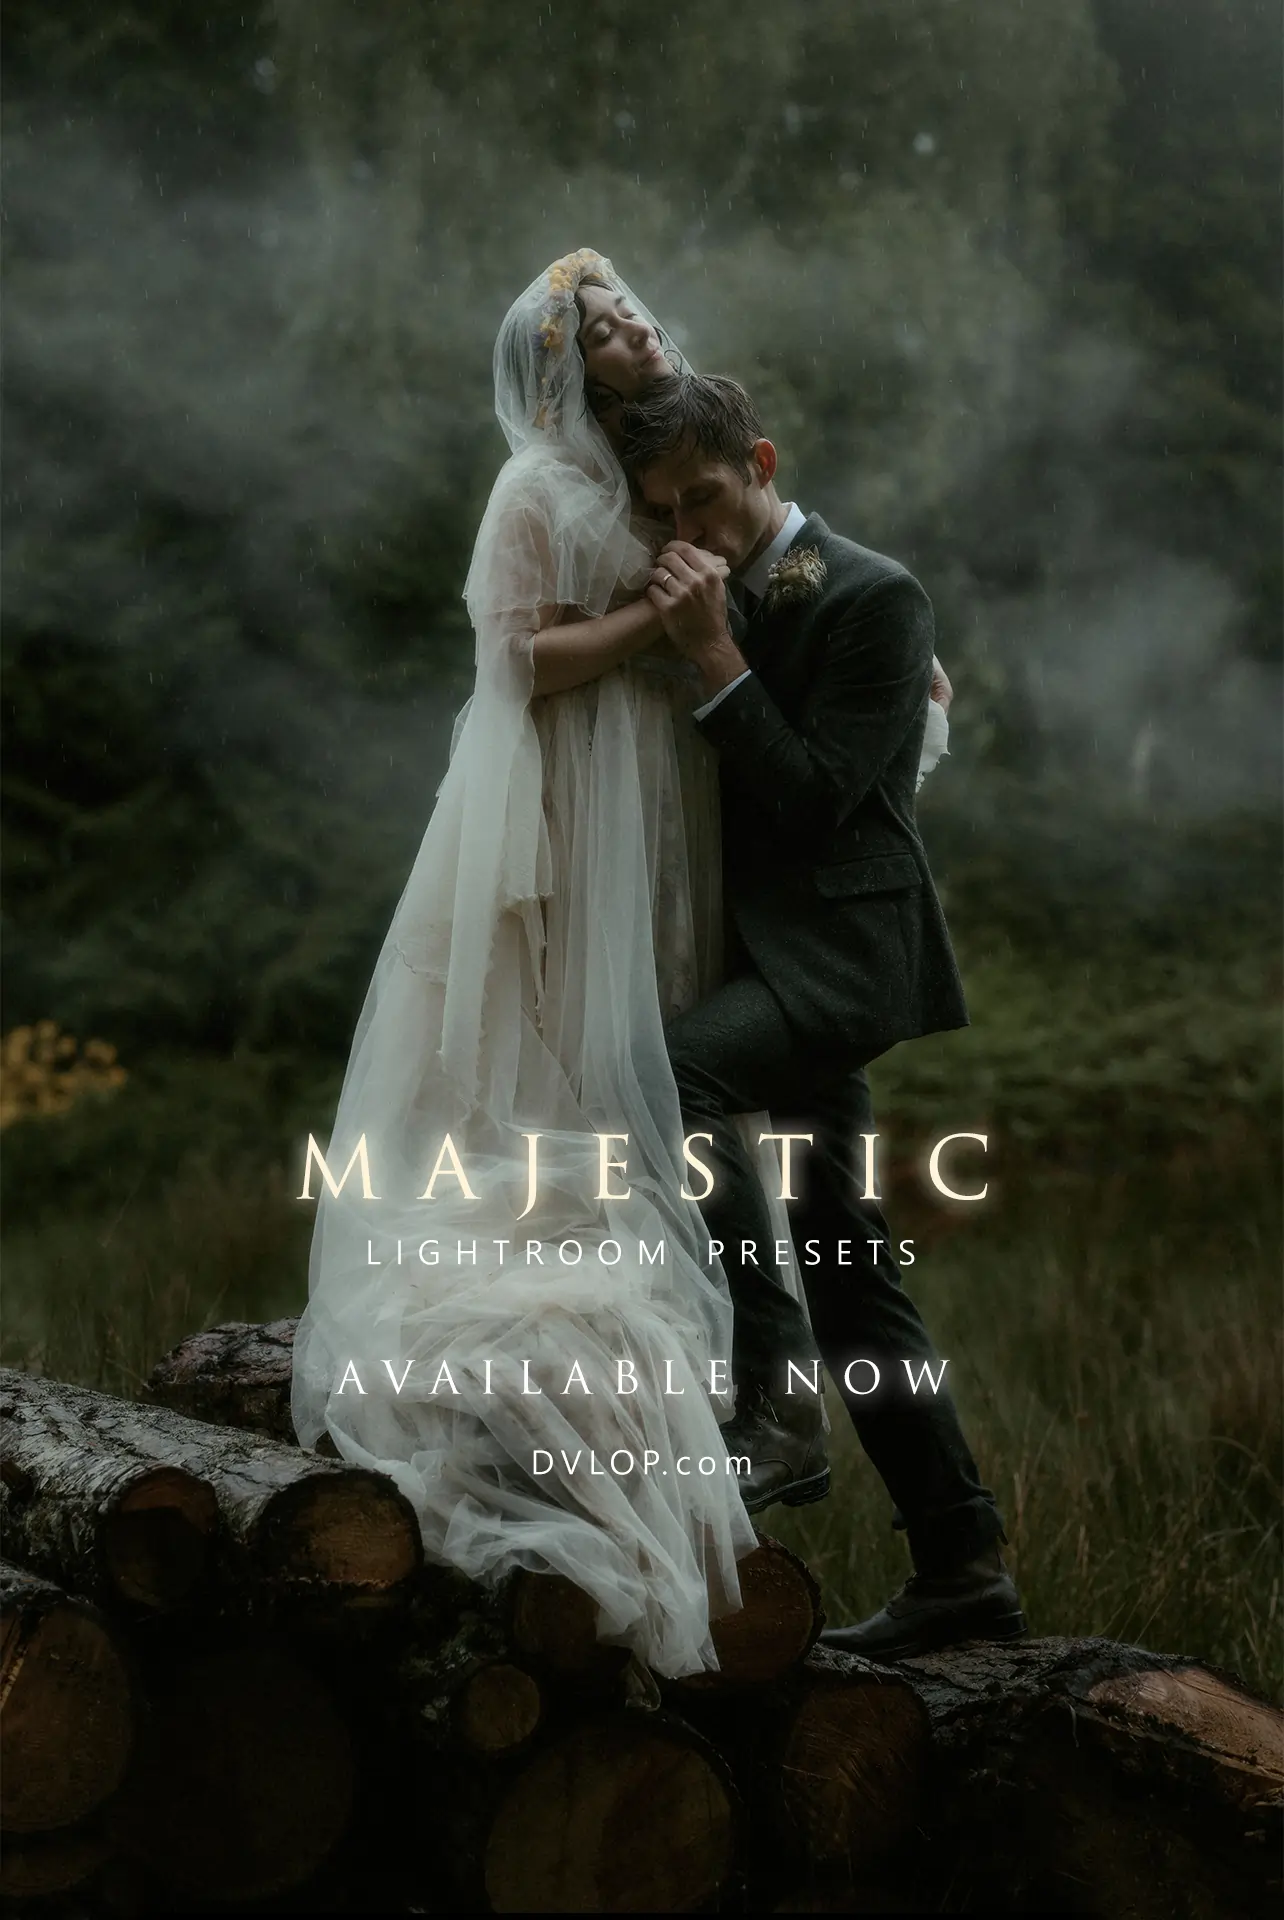
The final ingredient in creating a cinematic image! To begin with you’ll want a base preset that has been fine-tuned with natural-looking cinematic tones and hues in mind. Once the preset has been applied don’t forget to manipulate the white balance and tint as this can really change the look and feel of the photo. We generally aim for a slightly warmer white balance with our preset as it helps with skin tone however it’s fun to experiment and there are times when a cooler white balance looks appropriate too.
Our preset has evolved over the years as a result of shooting in a range of lighting scenarios and locations all the way from the Scottish highlands, to the colourful streets of Copenhagen to the evening light in San Francisco and we use it as a base for every single image (with minor tweaks if needed).
We’re excited to have teamed up with DVLOP to launch them across all major camera systems and they are now available for Lightroom, Photoshop and Capture One at DVLOP.com.
That’s it for now! We hope these cinematic wedding photography tips have been helpful! Leave a question in the comments below and stay tuned for another article on Lightroom editing next week!
If you’d like to dive deeper into wedding/video photography and editing theory I also offer 1 to 1 online mentor sessions over Zoom. Click here to get in touch.
hii dylan and joanna
what gear u use for video
Hi, Im currently using the Ursa Mini Pro 4.6k
Wow thank you! These 2 articles have inspired me so much! When is the next one coming out? 🙂
I’m glad you enjoyed them! More coming over the winter period when I have a bit more time up my sleeves.
Thank you, this is very helpful. I have been working in developing a cinematic look that fits and compliment my shooting style and these presets are really helpful.
No problem David! That’s good to hear!
Amazing tips guys thank you so much! Always in love with your work 🙂
Thank you and no problem at alL! Glad it was useful!
Thank you much for all of this information!! I’ll probably be purchasing that filter… I watched the YouTube video and it’s super awesome to see the way that it works! Also, I looked at your amazon list (nosy) and I love to see that you guys use the Loupedeck. Definitely the biggest time saver/game changer for editing!
Again, thanks for sharing all of this info. I’m not going to lie I cried a bit because it was free.
-E
Glad you enjoyed the tips Erin and you should definitely try out the filter! Yep the Loupedeck is a timesaver for sure!:)
Thanks for this – it’s a great article! I love your work, so it’s great to get an insight into your thought processes. I’ve been considering a Tiffen Pro Mist filter, as I like the look. Would you say that 1/8 is enough, or do you use something like a 1/4 strength filter ?I assume it’s at its best when there are prominent highlights present in the image, to get that glow?
To be honest I’d try the 1/4 first as you’ll properly notice the effect more. The 1/8 is really, really subtle however you can just leave it on your lens all the time.
Hi,
I’m trying to decide between the 1/4 and 1/8 Tiffen Black Pro Mist filter.
Do you think the 1/4 creates too much of an effect? Keen to gather your thoughts.
Thank you.
I’d try the 1/4 first as the difference is more noticeable however there might be some situations where the effect is too much. The 1/8 is really, really subtle however you can just leave it on your lens all the time.
Hi guys,
With regards to the Tiffen Black Pro Mist filters, do you find that 1/4 is too strong? I’m trying to decided between 1/8 and 1/4.
Thanks.
Hey mate, loving these articles! I also have a question about the filters (seems like a popular topic haha), how often and in what situations do you use them? Are you shooting with them on both cameras / lenses, 35mm and 85mm? I’ve just ordered a couple, and thinking I might use them almost always for indoor stuff, and occasionally outdoors. What are your thoughts?
Hey mate,
I pretty much have the 1/8 on my lenses always. It’s just a very subtle effect so they’re fine for any lighting situation imo.
The 1/4’s though I probably would only use in certain situations (I personally wouldn’t use the 1/4 on a bright outdoor sunny day).
Hi Kitcheners! You doing amazing job! Love all your tips! Is it possible to show some tutorial how you use your presets?
Thank you and glad you enjoyed it! I am working on some new material very soon!
So regarding the Tiffen Filter: Do you use only the 1/4? And do you have it on your lens all the time? I’m just worried when using it only from time to time during a wedding, there will come out too many different effect. So better to choose to keep it all day long or just remove it…or do you decide from situation to situation?
Hi!
I pretty much only use the 1/8 which is always on my lenses and I can trust as the effect is subtle. If I have time and I think the 1/4 will be better then I will swap. Otherwise I pretty much just use the 1/8.
Hi! you mention that the cinematic glow effect can be achieved in one of two ways – the tiffen filter and through post editing software. what post editing software are you referring to?
Thank you Dylan and Joanna for this infos! You are awesome!
love the blog, and peek at your amazon shopping, a fav to ask, as you shoot elopements, do you have any special cover for your camera when out in the rain?
hi mate! Thanks! No I don’t use any covers for my cameras while out in the rain. I’ve been in pretty heavy rain over the years and have never experienced any issues and have found the weather sealing in both Nikon and Canon DSLRs to be reliable.